


Learn Steelhead Indicator Nymphing
One of the easiest and most effective ways to catch Steelhead on the fly.
Indicator nymphing is one of the most popular techniques for targeting Steelhead, and for good reason. It's approachable, familiar if you’re a trout angler, and consistently productive on rivers across Ontario.
Whether you're catching your first Steelhead or refining your presentation, this guide will walk you through the gear, techniques and strategies needed to fish with confidence.
Why Fish an Indicator?
If you're coming from trout fishing, indicator nymphing will feel surprisingly familiar. The goal is simple: present your flies naturally at a controlled depth near where steelhead are holding. The indicator has three functions, to suspend and present your fly (or flies) at a selected depth, to visually indicate where your flies are, and to visually indicate if a fish may have taken your flies.
A properly adjusted indicator setup allows your flies to drift naturally through areas where fish may be, while giving you a clear visual cue whenever a fish eats.
Another advantage of indicator fishing is its versatility. The same basic approach works throughout the fall, winter and spring, whether you're fishing smaller tributaries or larger river systems. By simply adjusting your depth, weight and fly selection, you can adapt to different and changing water conditions. Rivers are dynamic, each different place you cast and drift a fly can be very different even if they are just feet apart – being flexible and changing your set-up on-the-go is a big key to successful indicator nymphing.
For many anglers, indicator nymphing provides the quickest path to landing their first Steelhead— it is a technique many experienced anglers continue to rely on season after season.


The Gear You Need
One of the most common questions we hear is, "What gear do I need?"
Fortunately, it doesn't require an overly complicated setup.
- For most Ontario rivers, a 10-foot 7-weight fly rod offers an excellent balance of casting performance, line control and fish-fighting power. The additional rod length makes it easier to mend line, and can keep more line off the water for better and longer drag free drifts while using an indicator.
- Pair your rod with a quality large-arbour reel featuring a smooth drag and enough backing to comfortably handle strong, fast-running fish. 100 yards to 150 yards of backing should have your well covered.
- A weight-forward floating fly line is the standard choice for indicator fishing. What you want to look for in an ideal line for indicator fishing is a long rear taper to assist in mending to maintain an excellent drag free drift, and a head with enough weight toward the front of the head to cast an indicator, splitshot, and flies well.
- The rest of your setup consists of a tapered leader, a tippet ring, fluorocarbon tippet, split shot to help sink your flies quickly, and a strike indicator suited to the speed and depth of the water you're fishing. The faster and deeper the water you fish, the more weight you’ll need to sink your flies, and you’ll need a larger indicator to suspend it all without sinking.
- The beauty of indicator fishing is its simplicity. Once you understand how the components work together, making adjustments on the river becomes second nature to adapt to conditions. The key to successful indicator nymphing is to change your set-up quickly and effectively for each drift your making. Sometimes a depth change of 4” and an extra piece of splitshot can make the difference!
Need help choosing gear?
Building an Indicator Rig
- One of the biggest misconceptions about indicator fishing is that there's a single "perfect" rig. To be very effective on the water, giving yourself the best chance to hook a steelhead, you will have to adjust your set-up often. This means, at times, adjusting multiple times per spot to achieve the perfect presentation.
- Adjustments can mean changing where your indicator is to adjust for depth, adding or removing tippet to get deeper or shallower, changing the amount of splitshot you have to achieve the desired depth, and changing your flies presenting different options to the fish.
In reality, every successful Steelhead angler adjusts their setup from cast to cast, as water depth, current speed, structure, fish behaviour & activity changes.. - A typical indicator rig begins with a floating fly line connected to a tapered leader. From there, an indicator is placed on the taper of the leader, or just at the end of it, then split shot is added below to help the flies reach the desired depth, then your fly, or flies, are attached to the very terminal end of the tippet section of your leader.
- As a general rule, your flies should drift above the bottom. If you're constantly snagging rocks, you're probably fishing too deep. The strike-zone can vary – sometimes fish will need flies to be presented within 12” of the bottom, other times if they are very active 24” or more off the bottom can be very productive. If your flies never reach the strike zone, you're likely fishing too shallow, so adjust your presentation to find out where the fish are taking. Its up to you to find out where exactly that is.
- Don't be afraid to experiment. Moving your indicator a few inches, adding or removing a small amount of weight or changing fly size can completely transform your success over the course of a day.
- Rivers are dynamic, be dynamic with them.
THINGS TO LOOK FOR:
- TOO DEEP? If you're snagging rocks and bottom frequently, remove a little weight or move your indicator up the leader.
- TOO SHALLOW? If you indicator never dips or you don't get takes, add weight or lower your indicator.
- ADJUST & EXPERIMENT: Small changes make a big difference. Move your indicator a few inches, add or remove a small amount of weight, or try a different fly – sometimes a change in colour and size makes a big difference.
- KEY TAKEAWAY: There is no perfect rig - only the right rig for the conditions. To become successful, stay observant and adjust throughout the day.

How to Choose an Indicator for Sleelheading
- When indicator fishing it’s important to choose the correct style and size of indicator for best results. The most versatile indicators are made of foam, such as those from Airlock and Oros, other styles such as yarn indicators can offer increased sensitivity but often don’t offer enough buoyancy to suspend split shot and weighted flies.
- The smaller the indicator, the more sensitive it will be, while the larger the indicator, the more buoyant it will be.The best indicator for your given situation is one that is large enough/buoyant enough to suspend the needed amount of weight, without being overly large to ensure that you can still see subtle takes. Carrying foam indicators from 1/2” diameter for small rivers up to 1” diameter for large rivers will cover the majority of situations.
Choosing Flies for Indicator Fishing
- Before we get into flies, we need to stress that even if you have the most effective fly tied on, if it isn’t presented well, it probably won’t catch a fish. Presentation is always priority #1, with the fly choice being priority #2.
- As well, legally you are able to fish up to 4 hooks on a single line at once in most places in Ontario. This means you can fish up to 4 flies if you wish, although we would never recommend this. We mostly fish with single flies, and often with 2 flies while using an indicator or Euronymphing, but it all depends on the type of water we’re fishing – if you’re in more turbulent water sometimes multiple flies don’t drift as naturally as a single fly due to the complex currents at play.
- Our Top Types of Fly Patterns for Indicator Nymphing:
- Eggs
- Worms
- Stoneflies & Other Nymphs
- Streamers
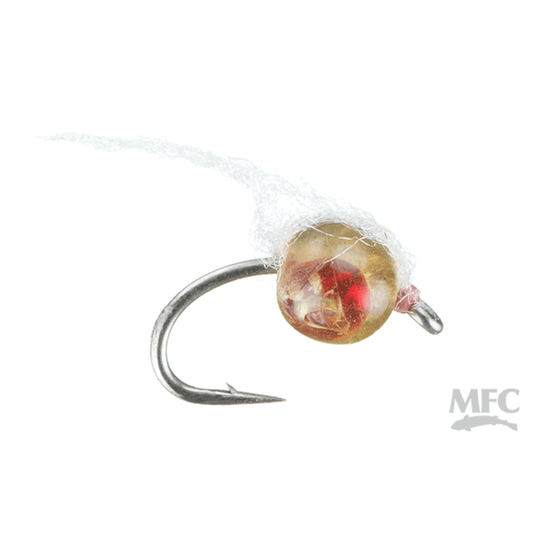
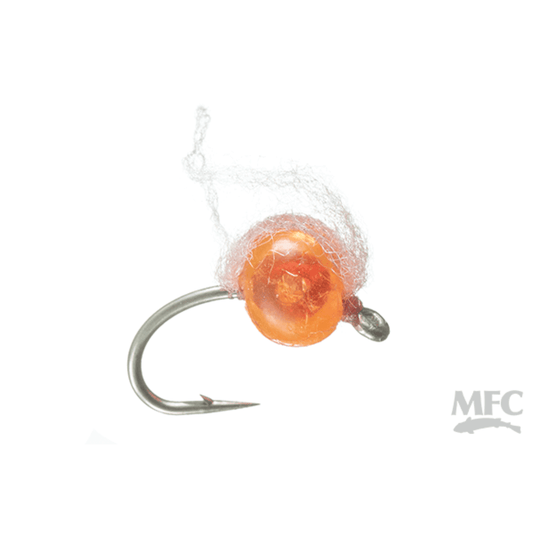
Egg patterns remain one of the most productive Steelhead flies throughout much of the season, they can be fished on their own, or of paired with a stonefly, attractor nymph or worm as a second fly. As water temperatures and conditions change, different patterns can become more effective, but confidence and presentation are usually more important than constantly changing flies.
Start with a selection of proven flies in a variety of sizes, colours, and even different weights (bead size). You don’t need many dozens flies to start, but 2 dozen flies will be a comfortable number of flies to head out with. If you’re a trout angler, there is a good chance that some of your larger nymphs, worm patterns, and small streamers will work.
Looking for specific fly recommendations? Our Steelhead Fly Fishing Gear Guide covers the best flies for indicator fishing, swinging and Euro nymphing, along with our favourite patterns for each technique.
Flies for Indicator Nymphing
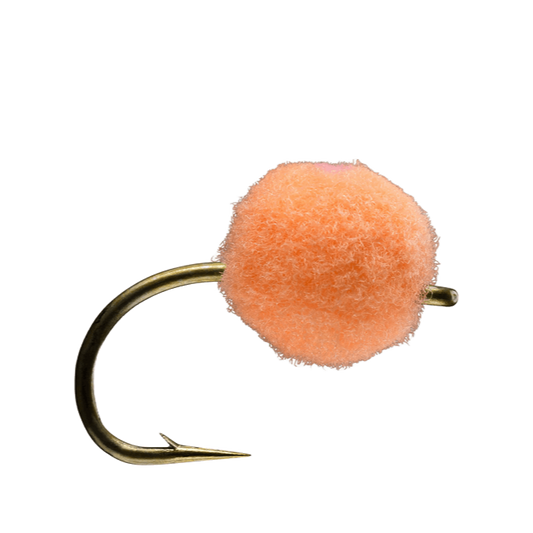
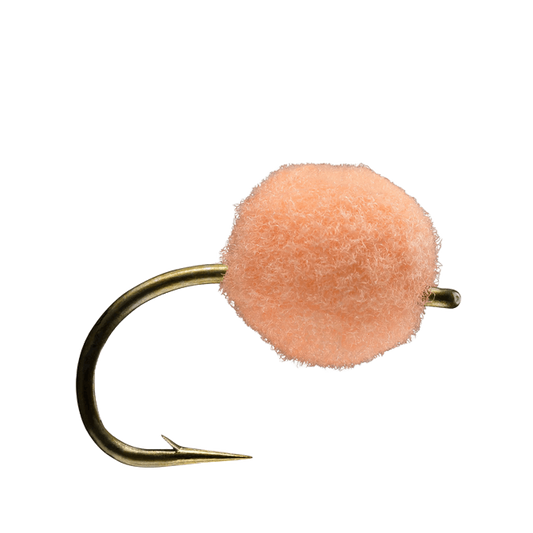
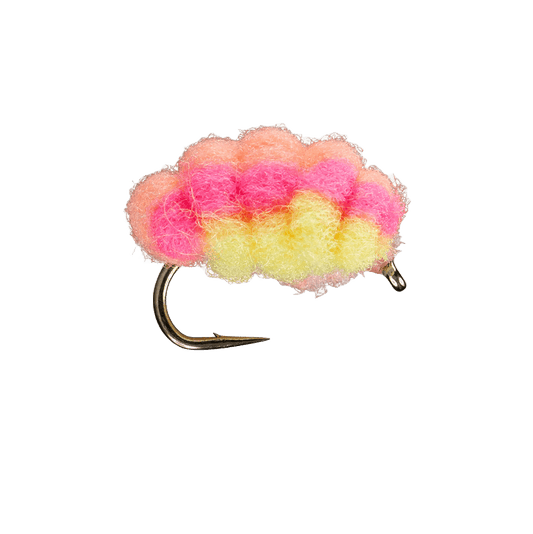
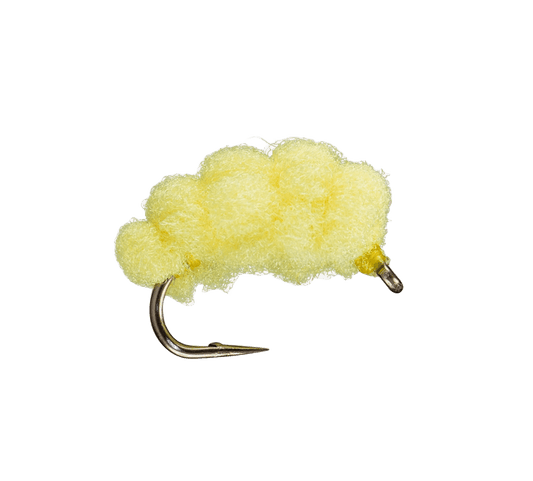
RIO - Micro Spawn Egg Fly
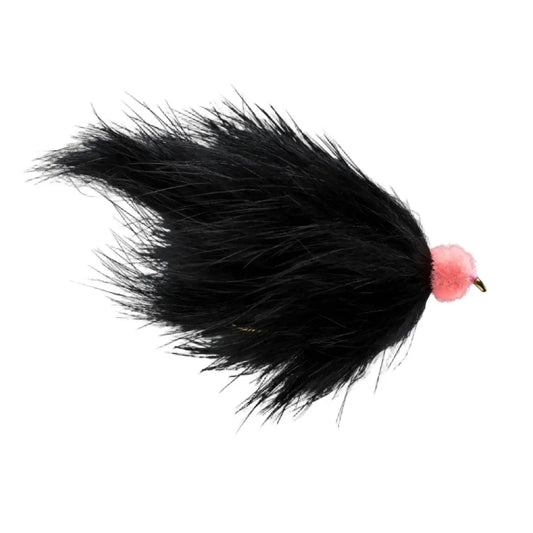
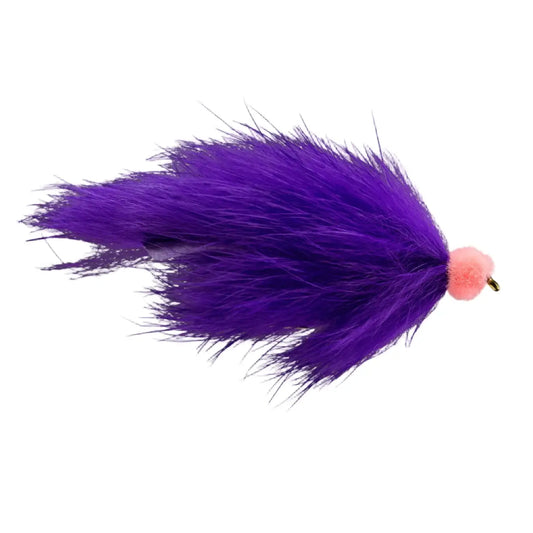
RIO Egg Sucking Leech Fly
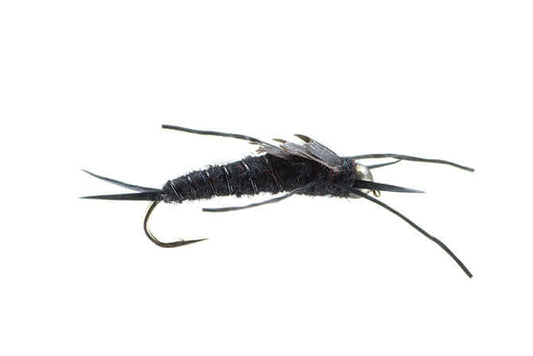
Bead Head Rubber Legs Kauffman Stonefly Black
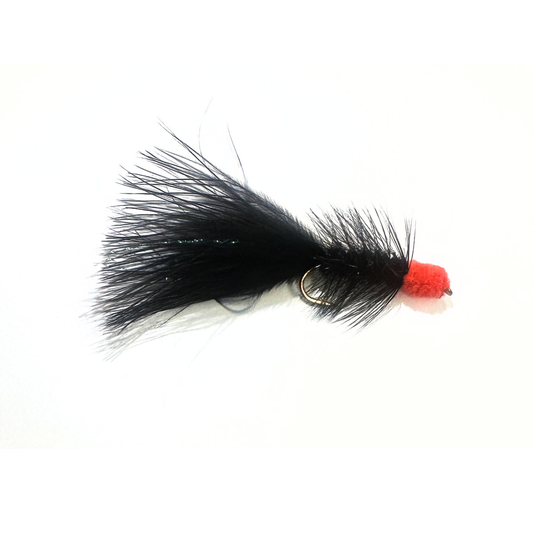

Lex's Improved RL Stone Black

Reading Steelhead Water
Learning to identify productive water is one of the biggest steps toward consistently catching Steelhead. While every river is different, steelhead generally look for water that provides security, oxygen and a softer current without forcing them to expend unnecessary energy. It is important to note that from early season (warmer water) to late season (colder water) where you find fish in a river will differ.
- Start by looking for runs, pockets, and pools with moderate walking-speed current. These stretches often allow fish to rest while remaining close to faster water that delivers food. Pools hold fish as well, and we put our attention even more towards them during colder months, the slower water is better holding water when temperatures drop.
- Current transitions are especially important. Anywhere fast water meets slower water creates a natural conveyor belt that brings food to waiting fish. Our Great Lakes Steelhead eat while they are in our rivers and streams and will often position themselves along these seams, moving only short distances to intercept drifting eggs, nymphs and other food items.
- Be strategic. Rather than arriving to a section of river start cast everywhere, spend a few minutes observing the water before making your first cast. Start fishing the water close to you, then make your way further out, focusing on key holding areas. Learning where steelhead are likely to hold in a river will always increase your productivity and success on the water: show your flies to fish, not to empty water.

Presentation is Everything
Many anglers focus on fly selection, but presentation is almost always more important. Before you change your flies, change-up your presentation.
- The goal is to achieve a drag-free drift (a drift that matches the direction and speed of the water) that allows your flies to move naturally with the current. After each cast, use gentle mends, if needed, to reposition your fly line without pulling your flies unnaturally through the water in order to keep the drift natural. If you don’t need to mend, don’t.
- Watch your indicator carefully throughout the drift. Some takes are aggressive and obvious, while others are little more than a slight hesitation or subtle dip. When in doubt, set the hook. Would you rather set a hook on a rock or log, or miss the fish of a lifetime? Don’t miss that fish!
- As your drift finishes, don't immediately pick up for another cast. Many Steelhead strike as the flies begin to rise toward the surface at the end of the drift as the current lifts your flies towards the surface.
Continue Your Steelhead Journey
Now that you understand the fundamentals of indicator nymphing, continue building your knowledge with these resources:
We're here to help
If you’re unsure about any of the Steelhead info in this guide, you don’t have to figure it out alone. Helping anglers sort through gear decisions is what we do every day, whether it’s your first setup or a thoughtful upgrade.
If you’d like a second opinion, give us a call (647-347-7370) or hit the button below. We’re always happy to help - and remember, we’re anglers too.
Chris Krysciak - Store Manager