beginner_fly_tying
Congrats on starting fly tying!

Fly tying is lots of fun, and comes with lots of fishing benefits too! For one, you can tailor flies to your needs, whether that's heavier, smaller, brighter, or duller. If you find yourself often fishing the same flies you can definitely save some money as well!

At Drift, we're here to help make your adventures a success, that's why we put together this breakdown of some of the basics you'll want to consider when starting your fly fishing journey!

The Vise

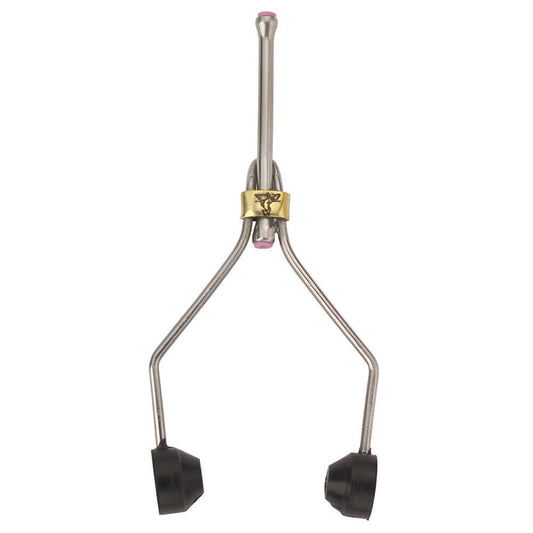
The Vise holds your hook while tying and there are many styles available. A pedestal base option is the most popular as it can be moved between tying surfaces very easily. A C-Clamp model can be more sturdy however you'll need a table that can fit it.

True rotary vises, like the Renzetti Traveler that we use in our classes, allow you to smoothly rotate your fly while tying, allowing you to to see all sides of the fly and even to wind on materials for you.


Basic Tools

At it's most simple, all you really need to tie most flies is a bobbin holder (holds your thread), scissors, a bodkin (needle) for applying head cement and either a half hitch tool or whip finisher to tie the finishing knot on your fly. Of course there are lots of cool tools to help with specific techniques but getting this kit will get you going with minimal cost.

You can also go the route of a fly tying tool kit - we really like the Core Kit from Loon!

Materials

There are a lot of materials you can use to make a fly, way too many to cover here! We'd suggest finding a couple flies you want to tie to start and purchasing only the materials you need to tie them. This will help keep things simple and manageable when starting out. With that, below are the flies we tie in our beginner glass and what you would need to tie them!

san_juan
simi_seal
woolly_bugger
scotty